The Ultimate Guide to Self-Tanning for Different Body Parts: Achieve a Flawless Glow!
Achieving that radiant bronzed look all-year round has always been the goal and it has never been easier thanks to self-tanning. However, applying a self-tanner can be tricky especially when you are aiming for a streak-free, even finish on different parts of your body. Fear not! We’ve got you covered with this step-by-step guide to self-tanning each body part like a pro.
1. Preparation: The Key to a Perfect Tan
Before you even think about applying self-tanner, preparation is one of the most crucial parts. Slough off those dead skin cells with a gentle scrub like Dermasuri Deep Exfoliating Glove to ensure an even application. Focus on rough areas like elbows, knees, and ankles.
2. Face: A Natural, Sun-Kissed Glow
The face requires special attention due to its delicate skin and unique contours. To achieve a flawless tan, start by choosing a self-tanner specifically formulated for the face like Beauty by Earth Face Tanner, as these products are usually lighter and less likely to cause breakouts. Blend from the center of your face outward, and be sure not to forget your ears, jawline, and neck. For the best results, avoid washing your face or applying makeup for at least 6-8 hours to allow the tan to develop fully.
3. Arms and Hands: Seamless and Streak-Free
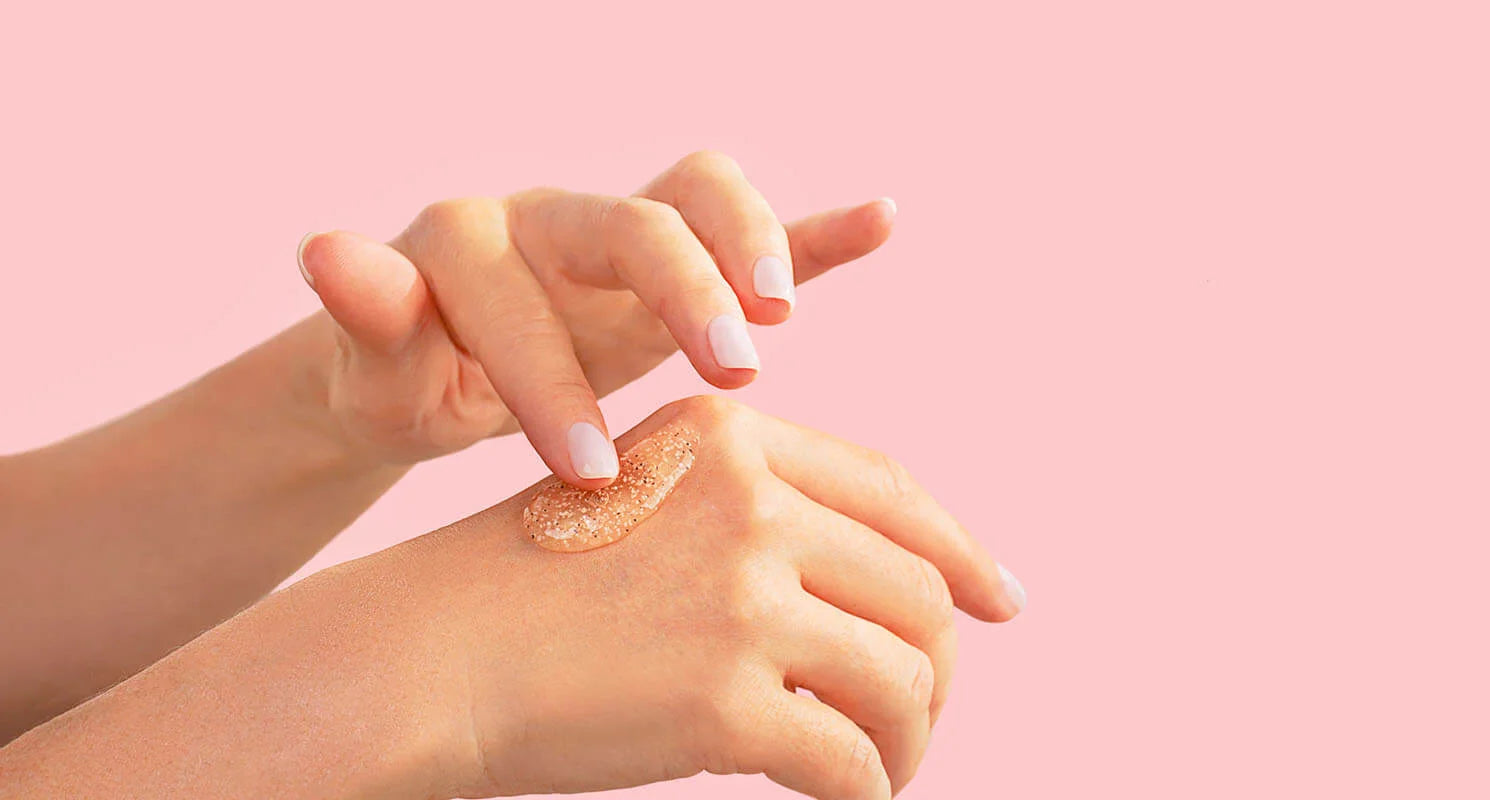
Your arms and hands are always on display, so it’s essential to get them right. Apply the self-tanner in small sections, starting from your shoulders and moving down to your wrists, using circular motions and blending well around your elbows. For your hands, mix the tanner with a bit of moisturizer and apply lightly to avoid dark patches.
4. Torso and Back: A Smooth Canvas
Getting an even tan on your torso and back can be tricky but not impossible. Use our favorite Bronze Tan Self Tanning Mitt to ensure an even application and prevent your palms from staining. Bend and twist your body to reach all areas, and for your back, use a long-handled applicator or ask a friend for help. Apply thin layers and build up the color gradually to avoid streaks.
5. Legs and Feet: An Even, Radiant Finish
Achieving a flawless tan on your legs and feet requires patience and precision. Start by applying the tanner in circular motions on your thighs, moving down to your knees and calves. Pay extra attention to your knees and ankles, blending well to avoid dark patches. For your feet, mix the tanner with moisturizer and apply lightly, using a makeup brush to blend around your toes and heels.
6. Post-Application Care: Locking in Your Tan
To make your tan last longer and look its best, allow the tanner to dry completely before dressing, opting for loose, dark clothing. We recommend using our Tan Fan Self Tan Sleep Sac to avoid staining your sheets and have a worry-free tanning sesh.

Keep your skin moisturized daily to prevent the tan from fading unevenly, and use gradual tanners or bronzing lotions to maintain your glow between applications.
With these detailed steps and tips, you’ll be able to achieve a beautiful, even self-tan that looks natural and radiant. Say goodbye to streaks and hello to a flawless, sun-kissed glow! Happy tanning!


