The Role of Exfoliation in Achieving a Perfect Self-Tan
Ready to achieve that golden goddess glow without the threat of having skin cancer? Self-tanning is the key to achieve that bronzed glow all year round. But wait, before you slather on that self-tanner, let’s talk about a crucial step in the process— exfoliation! Yes, you read it right, exfoliation is the unsung hero of a flawless tan. Let’s discover why this step is so vital and how you can master it for best results.
Smooth Canvas for Application
Exfoliating removes dead skin cells, creating a smoother canvas for your self-tanner. This ensures your tan goes on evenly, without those dreaded patches or annoying streaks.
Long-Lasting Tan
Exfoliated skin not only looks better but most importantly, it holds onto your self-tan longer. Dead skin cells naturally slough off, and applying self-tanner over them would result in your tan fading faster and unevenly. By exfoliating, your tan would adhere to fresh skin cells, which will make it last longer and fade more evenly.
Prevents Orange Tones
We’ve all seen those unfortunate orange tans. Uneven skin texture is the leading cause of this unfortunate event. Exfoliating helps your skin absorb the self-tanner evenly, minimizing the chance of ending up with an unnatural hue.
Better Product Absorption
Exfoliated skin is more receptive to any skincare product, not just self-tanners. This means you’ll get more of what you paid for as your skin will better absorb the products.
How to Exfoliate for the Perfect Self-Tan
Step 1: Choose the Right Exfoliator
Not all exfoliators are created equal. For self-tanning prep, opt for Himalayan Salt Scrub Face Foot & Body Exfoliator which gently yet effectively removes dead skin cells, ensuring a smooth and even surface.
Step 2: Focus on Rough Areas
Pay extra attention to areas with rougher skin like elbows, knees, and ankles. These spots tend to absorb more self-tanner, leading to darker patches.
Step 3: Moisturize Wisely
After exfoliating, moisturize your skin to keep it hydrated. We love using Jergens Ultra Healing Dry Skin Moisturizer, Body and Hand Lotion in keeping our skin well-hydrated, which is essential for maintaining an even and natural-looking self-tan.

Step 4: Tools Matter

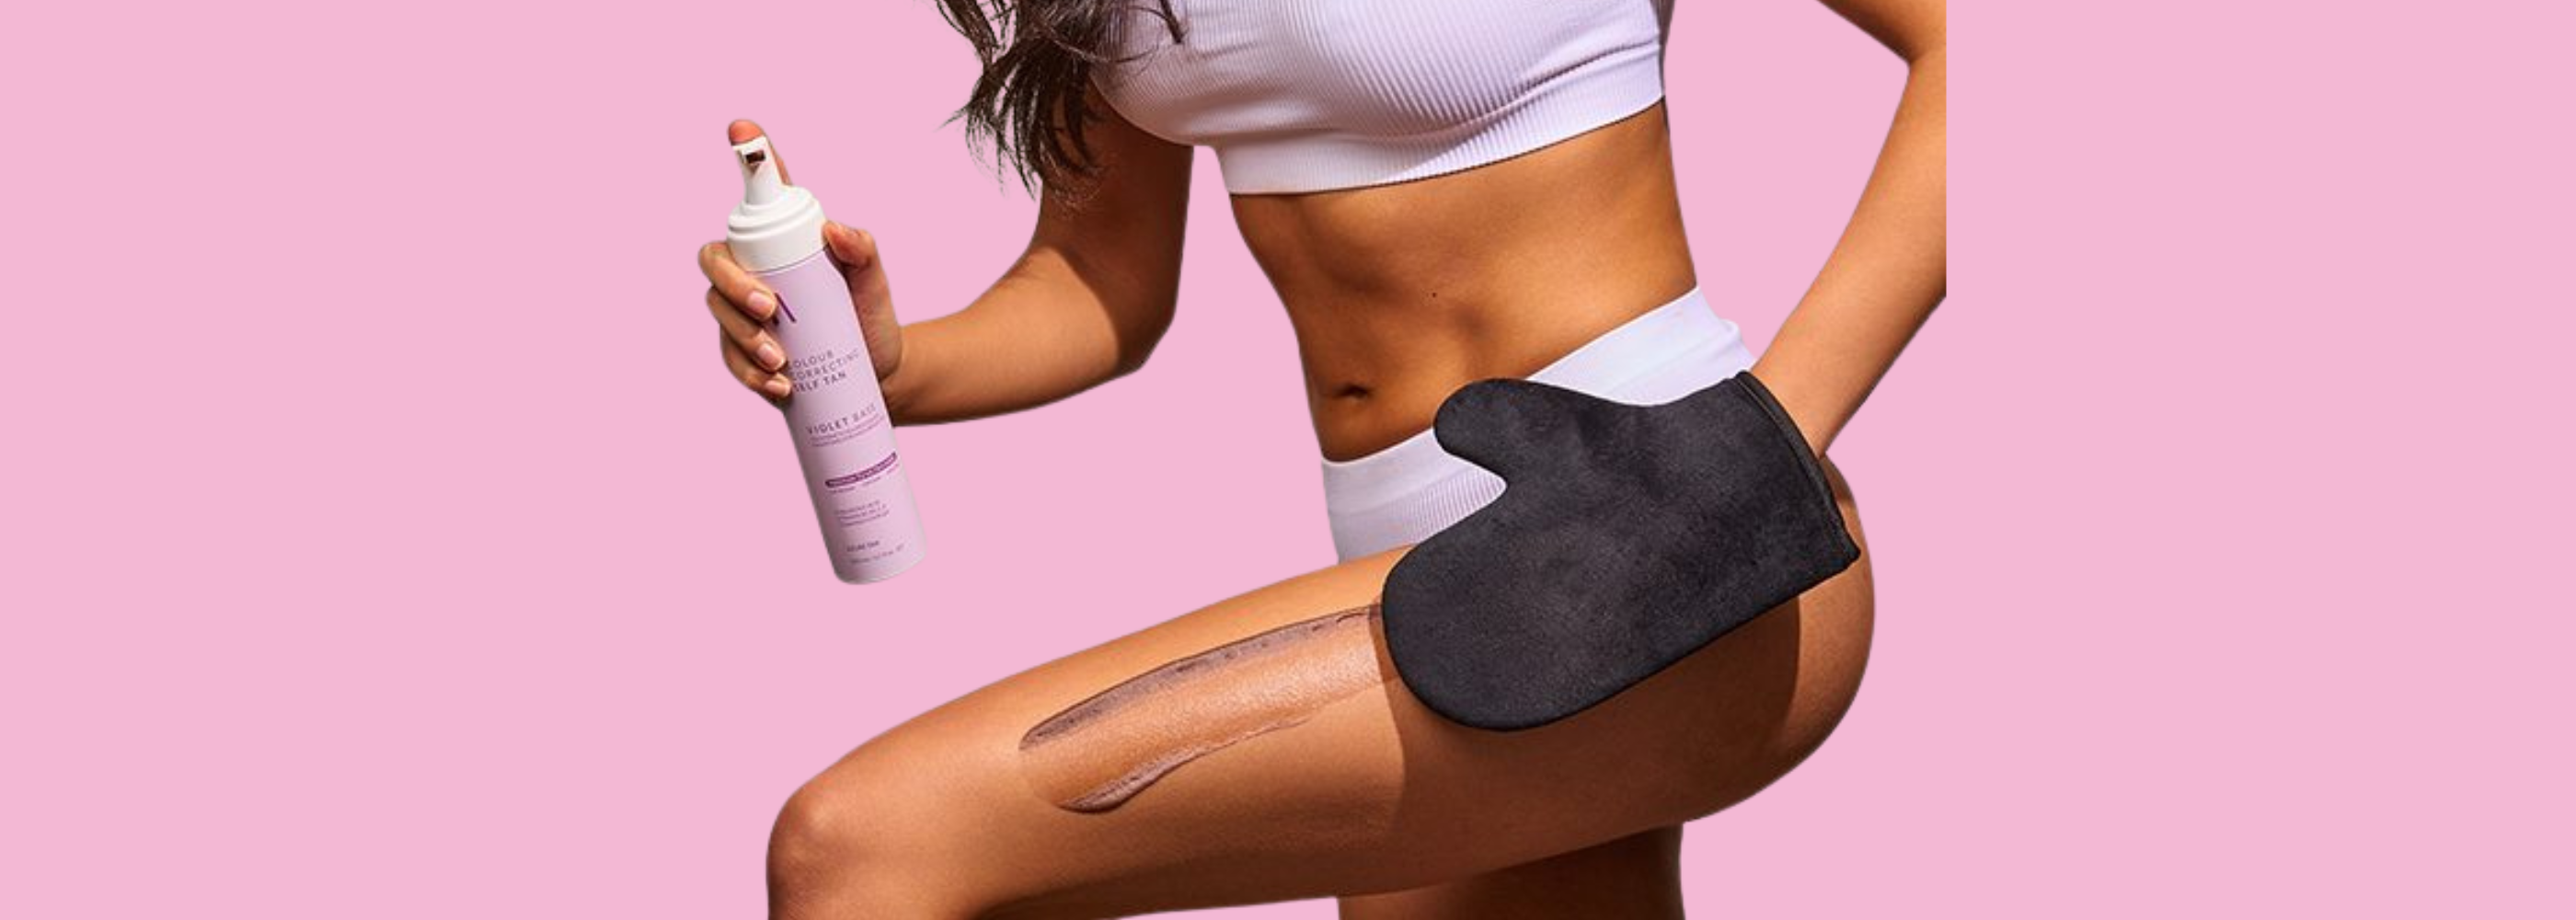
Use b.tan Body Self Tanning Mitt for an effective exfoliation session as it provides a more thorough scrub compared to using hands alone. Here's another helpful suggestion: on your self-tanning journey, use our Tan Fan Self Tan Sleep Sac. This product allows you to sleep comfortably without worrying about the mess you might make on your sheets.

Exfoliation is the secret weapon in your self-tanning arsenal. So, next time you’re ready for your sun-kissed glow, remember to exfoliate like a pro! Stay radiant and happy tanning!


