
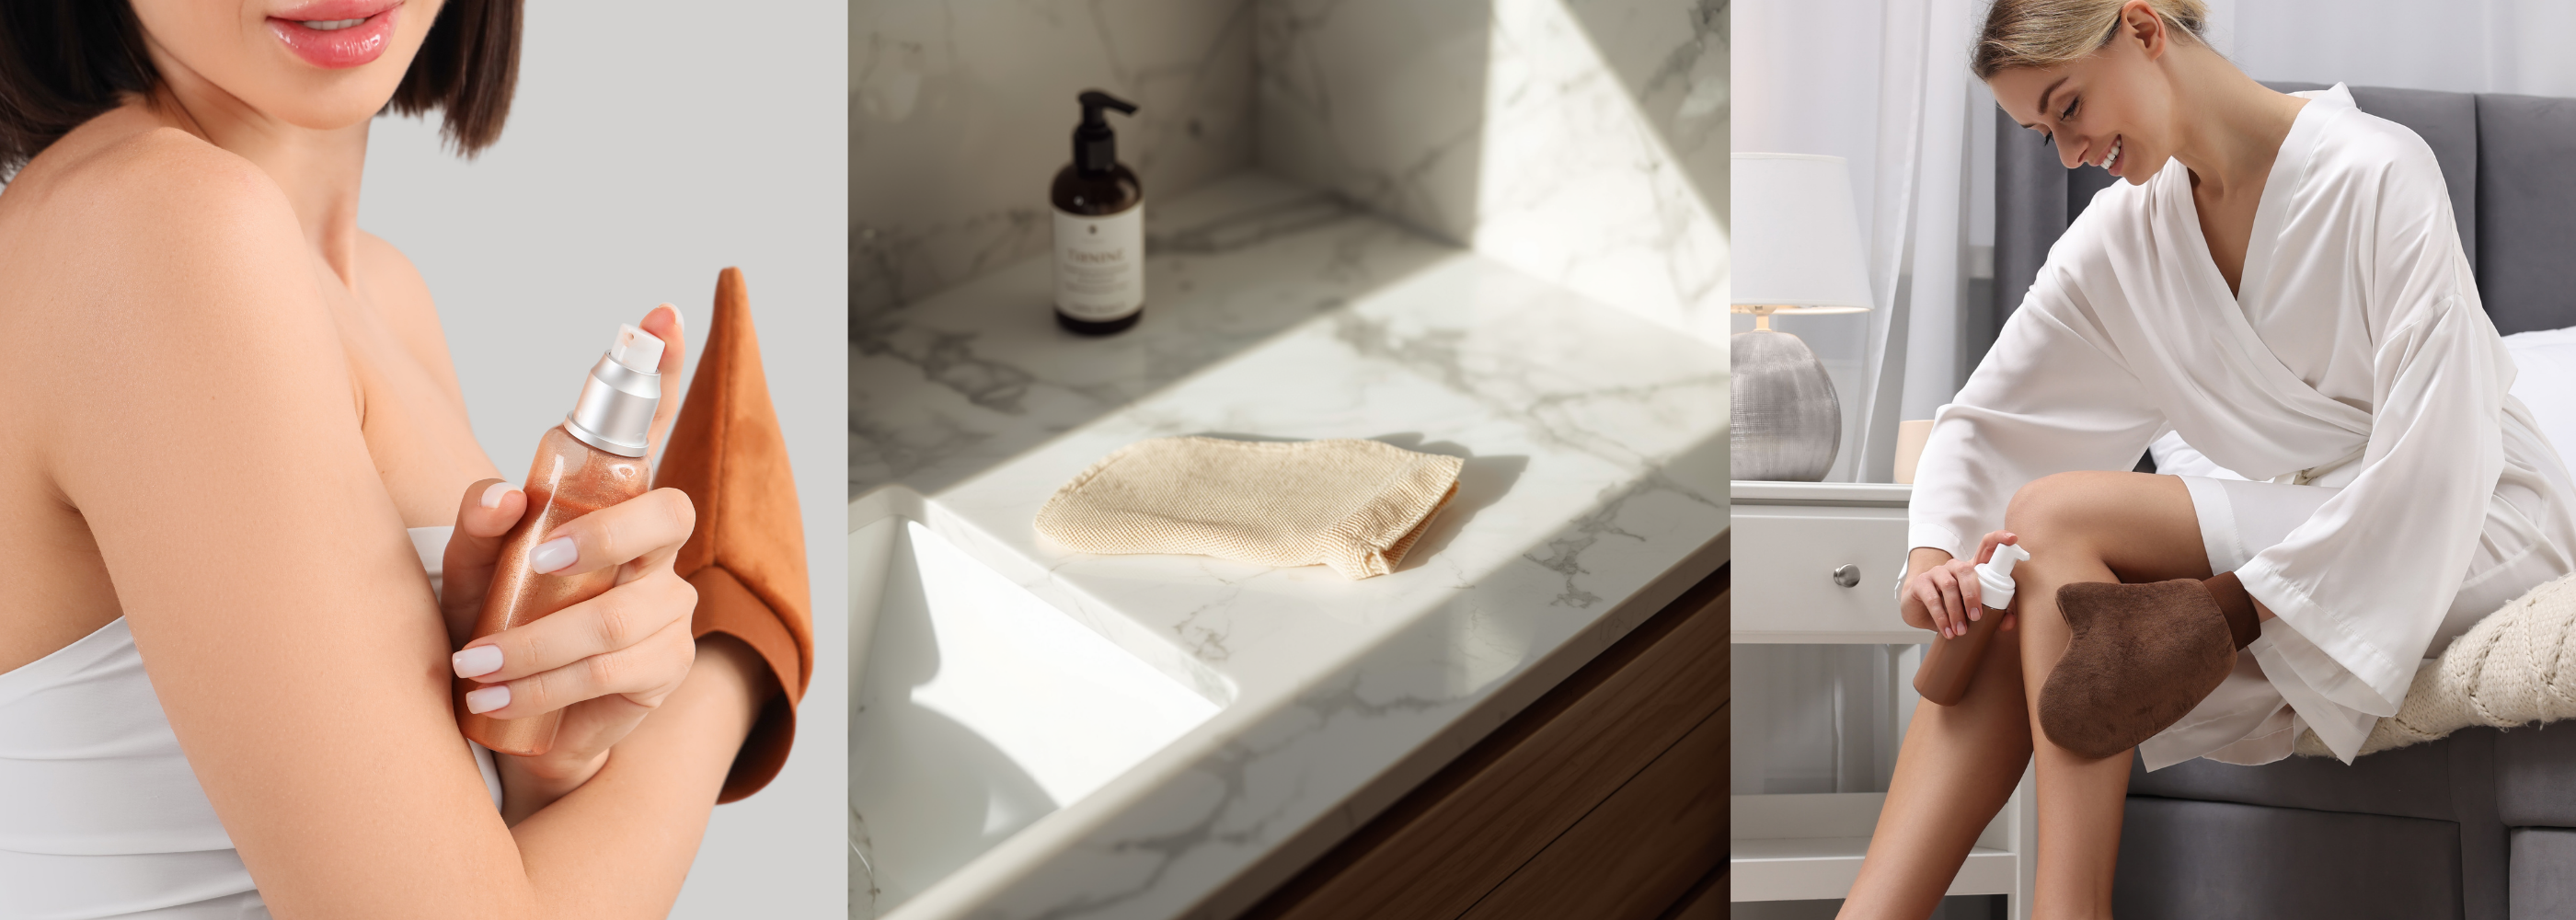
How to Clean Your Tanning Mitt and Sleep Sac
If you're chasing that flawless, sun-kissed glow without exposing your skin to harmful UV rays from the sun — you probably already know that achieving the best fake tan is just part of the whole. The secret to a streak free and even self tan isn't just in the formula, it's also in the tools you use.
So, what is a self tanning mitt? It's an essential applicator that ensures your fake tan goes on smoothly, blends perfectly, and keeps your hands stain free. And if you've added a self tan sleep sac to your routine, you're already taking your tanning game to the next level — keeping your sheets safe from transfer while your color develops overnight.
But here’s the thing most people overlook: your tanning accessories need tender love and care too. Leftover product can build up in your mitt or on your sleep sac which can cause streaks, patchy color, and even lingering odors. Taking a few minutes to clean your tools not only keeps them fresh and hygienic but also ensures your tan looks flawless every time.
We'll walk you through how to care for your tanning accessories, so your next-self tanning session leaves you with a glow that's as smooth as it is sun-kissed.
Cleaning Your Tanning Mitt Properly (Because It Works as Hard as You Do)
If you love to achieve a flawless bronze glow from your self tanner, your tanning mitt is your MVP slash tan saver. It blends, buffs, and saves your self tan hands. Giving it a little care after each use keeps your application hygienic. Taking a minute to clean your mitt not only protects your best self tan, it also ensures everything looks seamless, polished, and professionally applied. Here's how to keep it fresh and ready.
1. Rinse Right Away and Thoroughly
As soon as you're done applying your self tanner like your best self tanning lotion or any self tanning spray, rinse your self tanning mitt under lukewarm water. This will prevent any leftover product from drying deep into the fabric that will cause products buildup. Keep rinsing until the water runs completely clear. This step is key for preventing any self tanning products from transferring onto your skin during your next application.
2. Wash with Care
Proper washing keeps your best tanning mitt soft, and always ready for your next glow. Use a mild soap or gentle body wash to break down the remaining tanner. Do not use detergents since they can damage the fibers and shorten the life of your mitt (and we don’t want that to happen).
3. Dry them Properly
After washing, gently squeeze out excess water but no twisting or wringing — reshape the mitt and lay it flat to air dry. Avoid direct heat, radiators, or the dryer because heat can let it shrink or warp.
Pro Tips for Longer Lasting Mitts
Make it a Habit: If you self tan frequently especially when you're still experimenting on how to self tan naturally for a flawless bronze glow, then give your mitt the deeper clean it needs once a week.
Replace When Needed: If your best tanning mitt starts to feel rough, shedding, or no longer blends evenly, it may be time for a new one. Remember that a worn mitt can also cause streaks.
Keep a Backup: When trying our new self tanning hacks, two is better than one — one for drying and one ready to use.
Cleaning Your Sleep Sac (Keep the Glow, Not the Stains)
If you love sleeping with self tanner, a self tan sleep sac is one of the easiest ways to protect your bedding while you let your glow develop and bloom. The Tan Fan Self Tan Sleep Sac (B09W2QH541) works as a comfortable tanning sheets, it's silky, lightweight, and breathable (just what you really need). And with the right care, it'll stay fresh for many more planned tanning nights.

1. Spot Treat Small Stains
After use, give the sleep sac (a.k.a self tan sheet protector) a gentle shake to remove excess products like self tanning lotion or self tanning mousse. For minor spots, use a damp cloth to clean the area.
2. Gentle Wash is Needed
To keep the fabric looking its best all the time, simply wash on a cool cycle and dry on low to keep it soft and ready for your next glow.
3. Let It Dry Naturally
Air drying your sleep sac is the best option. Just hang it up or lay it flat to maintain its softness and shape.
Keeping your tools clean is one of the easiest ways to elevate your fake tanning routine. A quick rinse, gentle wash, and proper dry is all it takes to keep your tanning accessories in great shape and ready for your next glow. Clean tools mean smoother application, better blending, and ultimately achieving the best tan possible. Plus, they'll last much longer with just a little regular care.
Read more

Can You Put Fake Tan on a New Tattoo?
There’s nothing quite like the excitement of getting a new tattoo — it’s permanent, personal, and totally expressive. But with great art comes great responsibility. Many tattoo lovers ask: can you ...
Read more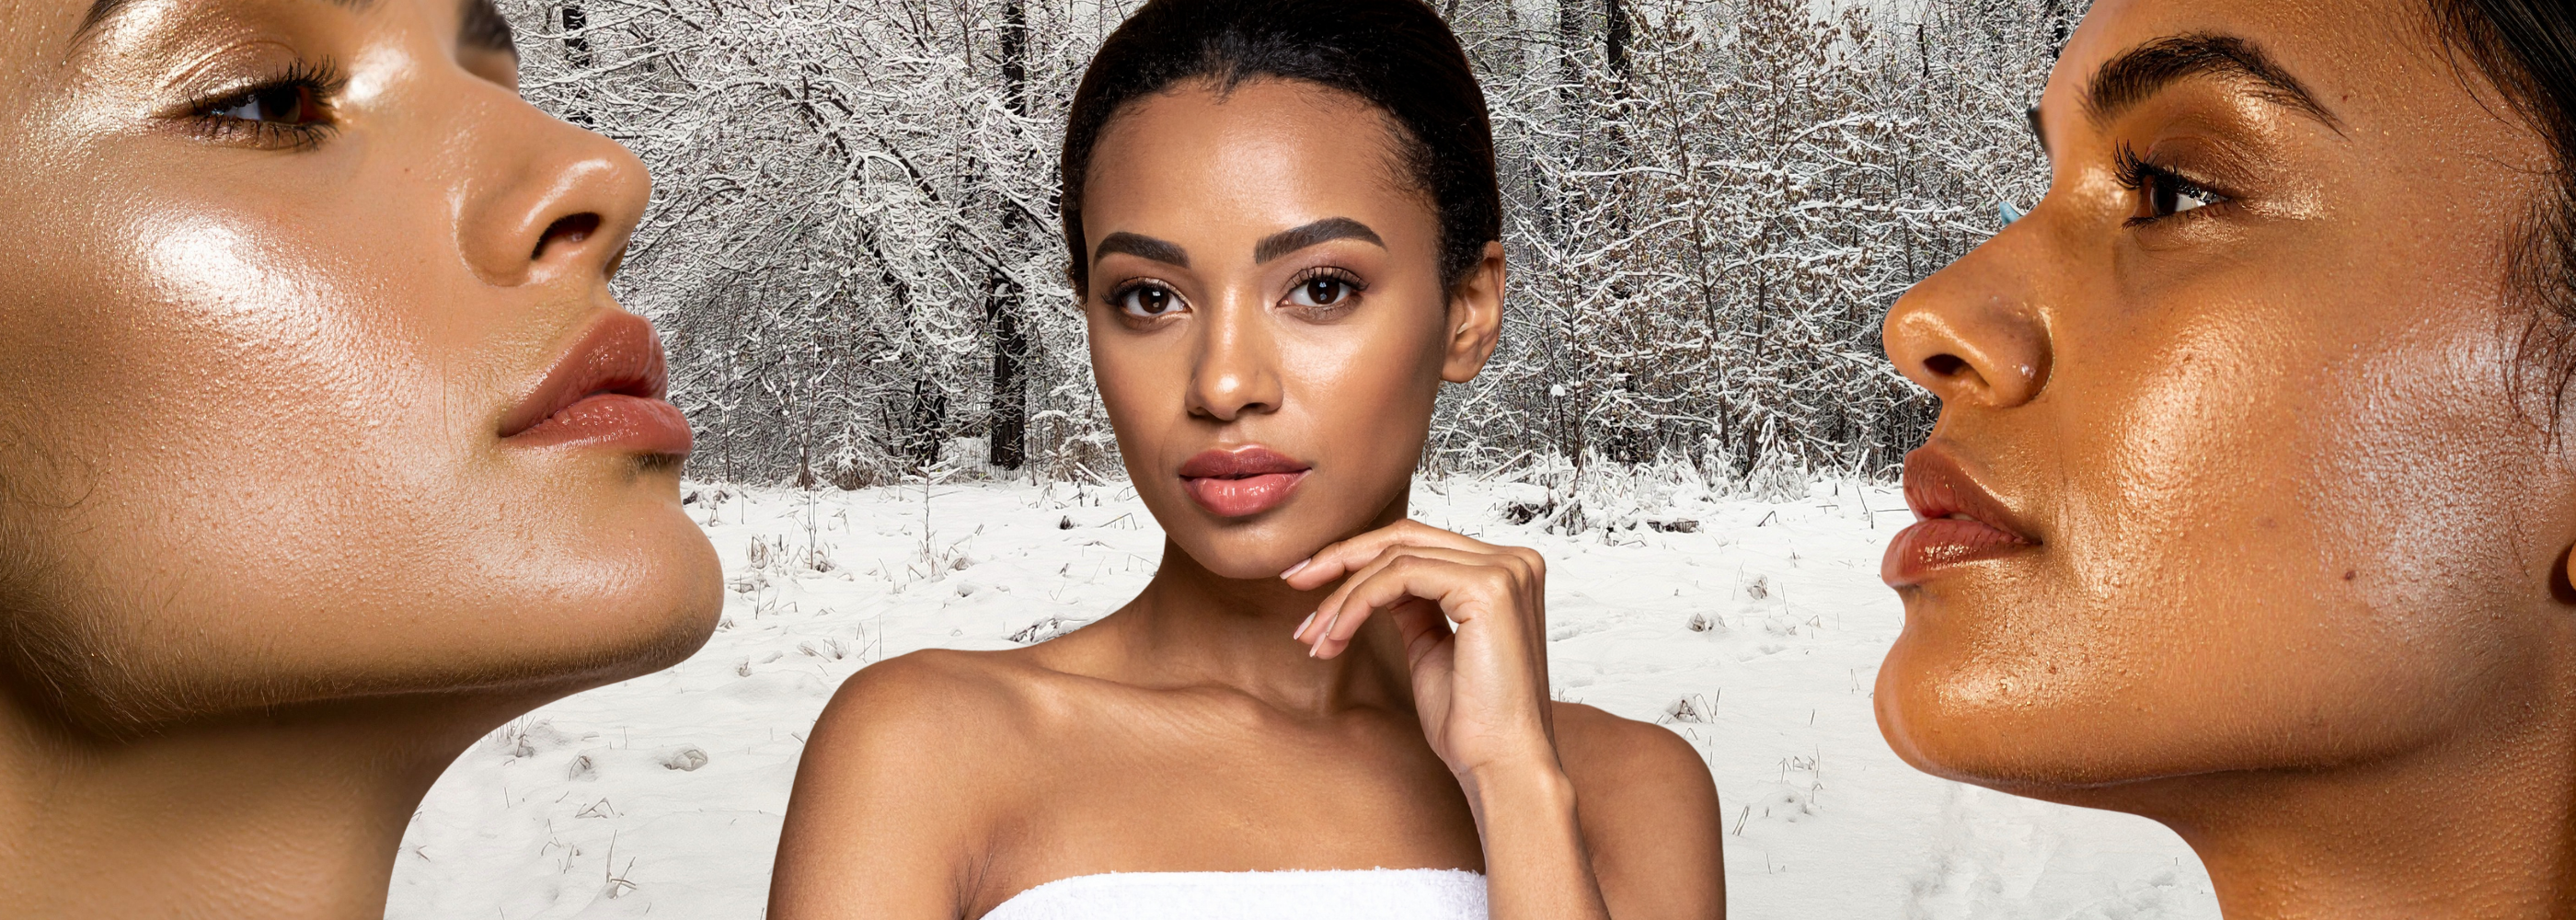
Summer Glow All Year Round: How to Maintain Your Tan in Winter
There’s nothing quite like the confidence that comes with a flawless sun kissed-like glow. The warmth of your best fake tan can make your skin look healthier, brighter, and instantly more radiant. ...
Read more