
Self-Tanning for Special Occasions: A Step-by-Step Tutorial
Whether it’s a party, a wedding, or a romantic date night, self-tanning can give you that captivating glow that turns heads. In this step-by-step tutorial, we’ll guide you through the process to ensure that you get that natural-looking tan for your next event, flawless and stain-free!
Step 1: Prepare your Canvas

When dead skin cells accumulate on the surface, they create a textured canvas that causes self-tanning to cling unevenly, resulting in streaks and patches. Whisk away those dead cells by exfoliating your skin. This initial step is vital not only for an even tan but also for enhancing the longevity of the color. Ensuring your skin is not only revitalized but also beautifully prepared for self-tanning, we love using Tree Hut Shea Sugar Scrub Coco Colada.
Step 2: Hydrate and Moisturize

Well-hydrated skin ensures an even absorption of the self-tanning product and moisturized skin acts as a barrier, preventing the tanning product from clinging to areas with excessive dryness. For a more natural and radiant finish, our girls love to use Jergens Ultra Healing Dry Skin Moisturizer! This penetrates the layers of the skin and reduces dryness at the source.
Step 3: Application Technique

Master the art of application by gliding the self-tanner in long, sweeping motions. Always begin from your ankles and work your way up. Use a tanning mitt to prevent uneven and unnatural coloration and pay extra attention to wrists and ankles. Since it features a water-resistant barrier to prevent stained palms and fingernails, our favorite to use is the Tanologist Flawless Tanning Mitt.

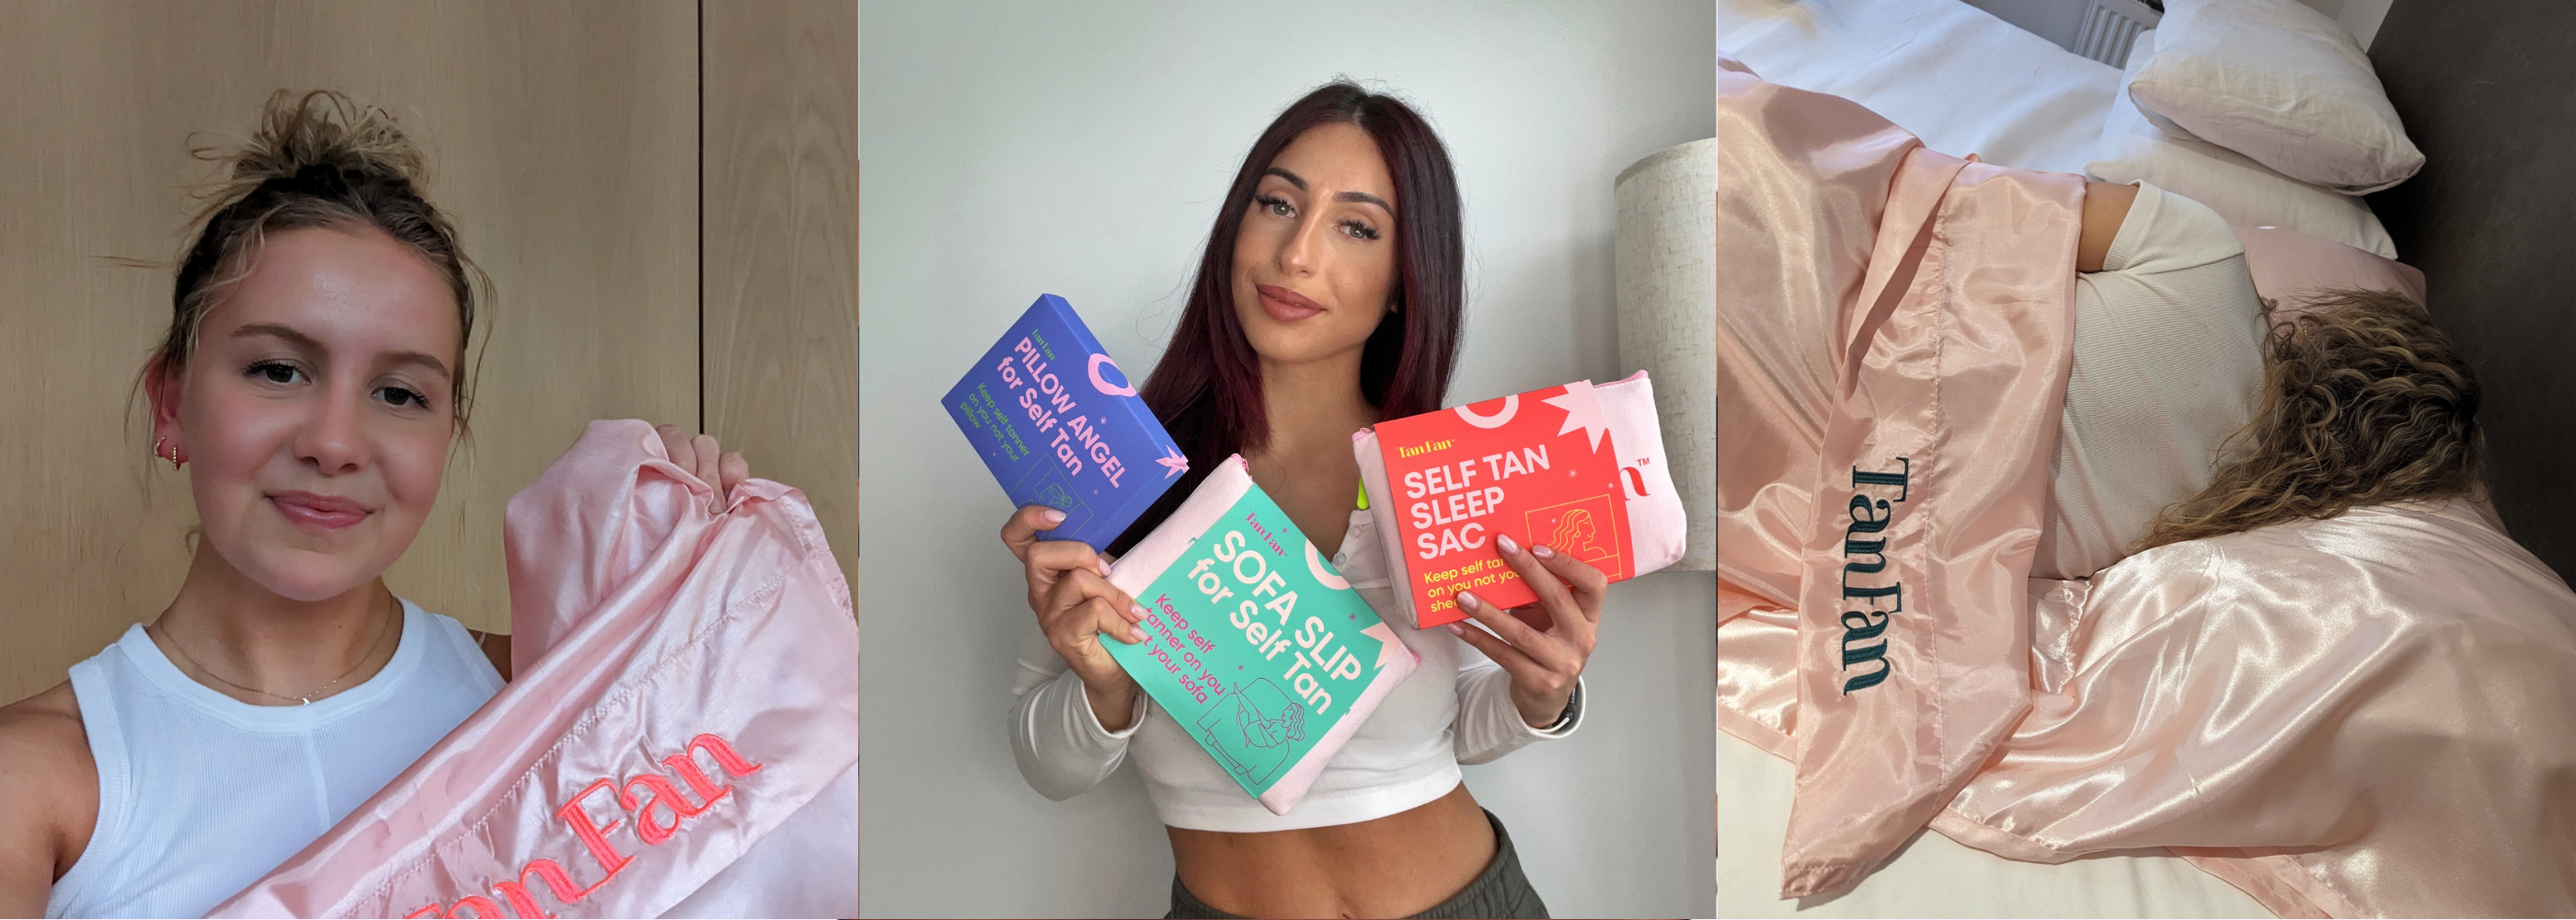
Here’s an added tip: to prevent any transfer onto your sheets, consider slipping into our Tan Fan Self Tan Sleep Sac. This ensures a mess-free night’s sleep allowing you to sleep soundly and save your energy for that special occasion you’ve been preparing for.
Step 5: Face the Glow

When applying the self-tanner to your face, mix it with a small amount of your regular moisturizer to achieve a more subtle result.
Step 6: Maintain and Enhance

Keep the spotlight on you by moisturizing daily and avoid exfoliating too frequently. If you want to intensify the color, consider applying another layer after the initial tan has fully developed.
With this step-by-step guide, you’re ready to steal the spotlight on any special occasion. Shine on and embrace that bronzed beauty as you become the glowing head-turner at your next event!
Read more

Sunless Tanning for Sensitive Skin: What You Need to Know
Sunless tanning is a popular alternative to achieving that sun-kissed glow without the harmful effects of UV rays. However, navigating the world of self-tanning can be challenging to individuals wi...
Read more
How to Maintain & Prolong Your Self-Tan
Want to keep that faux glow longer and fresher looking? While fake tans provide that instant bronzed glow, their staying power is only sometimes as enduring as we desire. Here’s a guide on how to m...
Read more